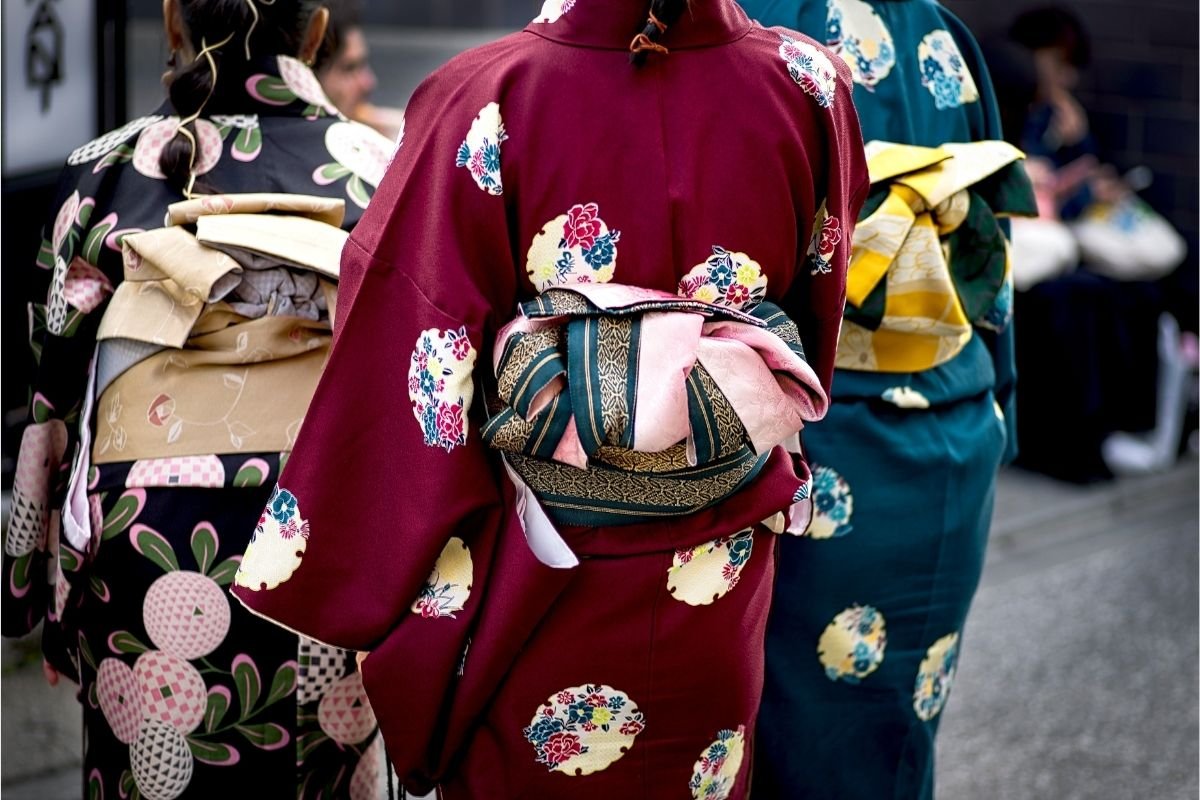
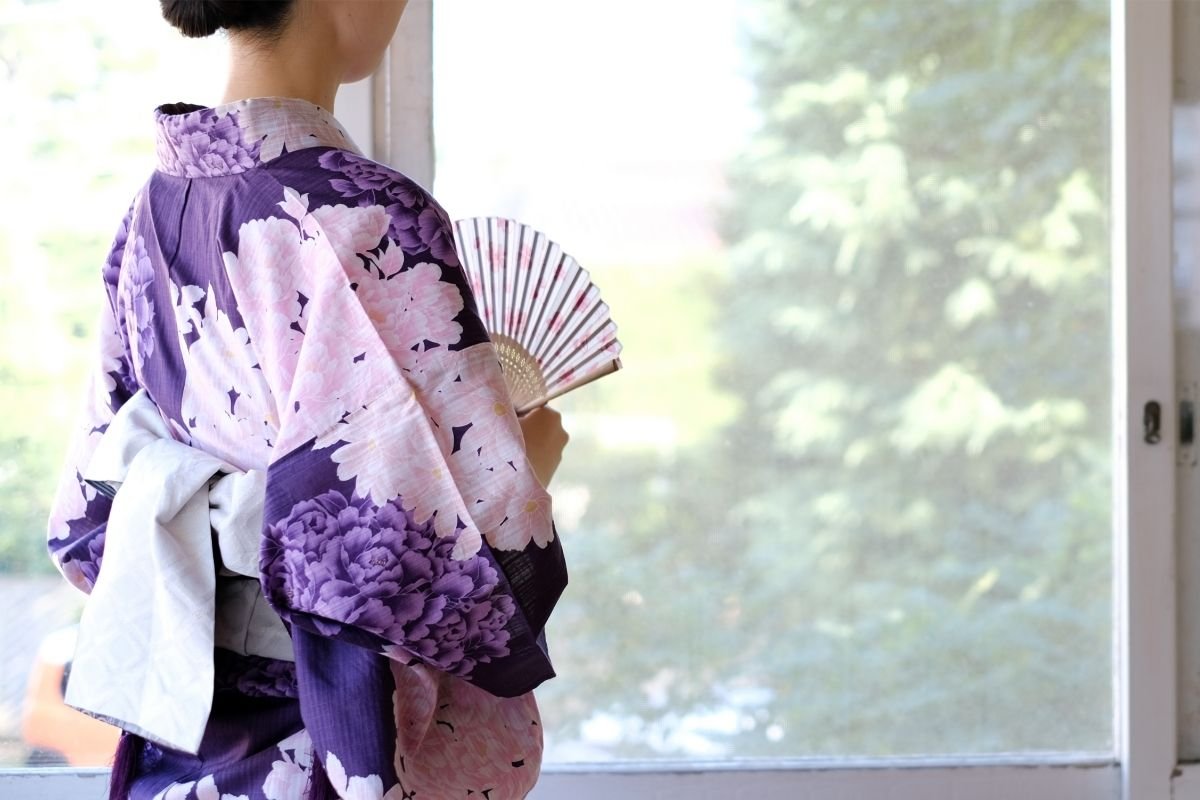
A kimono is a Japanese garment that has become a symbol of elegance and sophistication. In Japan, wearing a kimono is considered a sign of respect and honor.
If you’re unsure about how to wear a kimono, look no further than this article.

In this article, I will cover how to wear a kimono (see also ‘How To Style A Kimono‘).
Let’s get started.
How To Wear A Kimono
Alter The Length & Tie The Waist
Step One – Wear Clothes As A Base Layer
Before you put your kimono on, you will first need to select clothes that are form-fitting as a base layer.
If your kimono is a light color, you will want to make sure that the clothes you wear under it are also light.
Step Two – Put Your Kimono On Top Of Your Base Layer
Once you have selected some clothes that fit well, then you can start putting on your kimono.
The opening to the kimono should be at the front.
Avoid wrapping the kimono at this stage, as it won’t be the right length yet.
Step Three – Lift The Kimono Until The Bottom Is Above Your Ankles
Next, you will need to make your kimono the right length. To do this, lift up the bottom part of the kimono until it reaches just above your ankles.
Kimonos are commonly too long, so this is an important step to take to ensure that you can walk properly whilst wearing it.
Step Four – Wrap The Kimono Fabric Over Your Hips
Now that your kimono is the right length, you will wrap the fabric over your hips.
Grab the fabric in your right hand and wrap it over yourself so that your hand touches your left hip. Repeat this process on the other side.
Note: Kimonos are always wrapped left over right except in the circumstance for the dead at funerals.
Step Five – Wind The Koshi Himo Belt Beneath The Kimono
Finally, you will wind the koshi himo belt beneath the kimono.
To do this, wrap the belt around your waist from front to back and cross the loose ends behind you.
Following this, bring the loose ends back up toward your front.
Step Six – Tie The Koshi Himo Belt
You will now need to tie the koshi himo belt in a bow on your right hip.
Tie the loose ends of the belt on the right side. Tie a shoelace knot tightly enough that it holds up the loose fabric on your waist
Now it’s time to adjust the top of the kimono.

Adjust The Top Of The Kimono
Step One – Pull The Fabric Down
To adjust the top of the kimono, you will need to reach into the kimono and pull the fabric down. Make sure the excess fabric of the kimono is now above the waist that you have created for yourself.
Step Two – Pull The Back Of The Kimono
Next, you will need to grab the front collar with one hand and pull the back of the kimono.
The folds of the collar should meet in the front. Reach your left hand to the back of your kimono and pull it all the way down until your collar reaches just underneath your neck.
This will help to get the position of the kimono right and ensure that you’re smoothing out any bunches of fabric as you go.
Step Three – Tie The Second Koshi Himo Belt
Next, you will need to tie the second koshi himo belt just beneath your bust.
Tie the knot on your right side, but be careful to make sure that you don’t tie it so tight that you can’t breathe properly. After all, you want to be as comfortable as possible in your kimono!
Step Four – Adjust The Back Of The Kimono
Now it is time to adjust the back of the kimono. This part can take time and is where many people tend to get frustrated with the process. However, the more practice you get, the better you get.
You will need to make sure that you adjust any fabric out from underneath the tie that you just created below your bust.
Both the front and the back of the kimono should be as flat as possible, so ask a friend to help you with this step or look in a mirror to guide you.
This will ensure that there’s no bunched up fabric.
Step Five – Tie A Kimono Sash
To finish off your kimono look, take a kimono sash and wrap it underneath your bust twice.
Tie it in the front, and ensure that your kimono hasn’t bunched underneath it.
Smooth everything out, and you are now finished putting on your kimono!
Tips When Putting On Your Kimono
There are a few tips that you can bear in mind when putting your kimono on that can help the process feel much easier. These tips include but are not limited to:
Ask For Help
When you’re first getting used to putting on a kimono, it’s good to ask for someone to help you.
Not only will someone be able to help you smooth out any bunched up fabric, but they will be able to see a full 360 view of the look and help make sure that it looks neat.
Use A Mirror
If there isn’t anyone around to help you put on your kimono, then make use of full length mirrors in your home.
While it might be a little trickier to fix your kimono yourself, doing it this way is how you learn.
Making use of full length mirrors is important so that you are able to see how the back of your kimono looks.
Have Patience
Last, but by no means least, have patience when you’re fixing your kimono! Learning how to tie and adjust your kimono won’t come straight away, but it is a skill that you can learn over time and with experience.
The more practice and experience you gain, the quicker you will become at putting a kimono on.
Slow and steady wins the race. Remain patient, and you will soon learn how to put on and adjust your kimono like a pro!
In Summary
So, that’s how you wear a kimono!
Hopefully after reading this article you have a better understanding of how to wear a kimono!
The more that you practice, the easier it will become to put on and adjust your kimono time and time again.
Good luck putting on your kimono!
- What Is a Maiko? - July 13, 2025
- What Does Domo Arigato Mean? - July 12, 2025
- What Does Naruto Mean? - July 12, 2025


